Installing Exterior Sheathing and Insulation on Our Homemade Camper
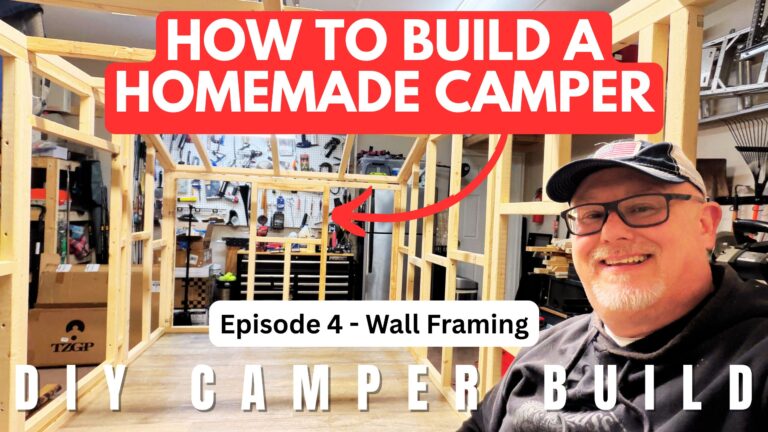
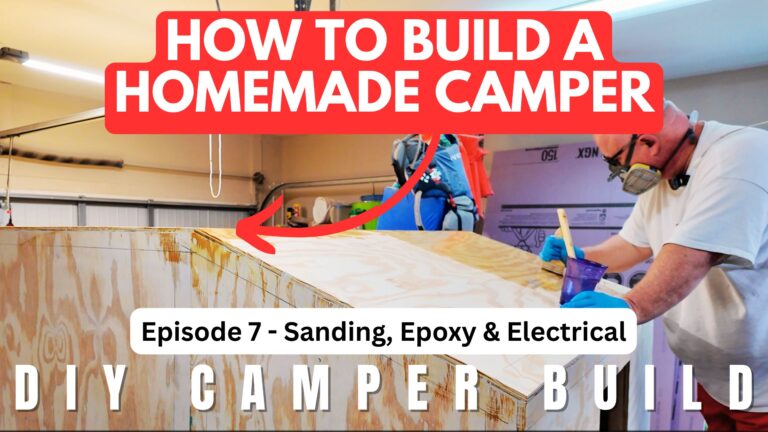
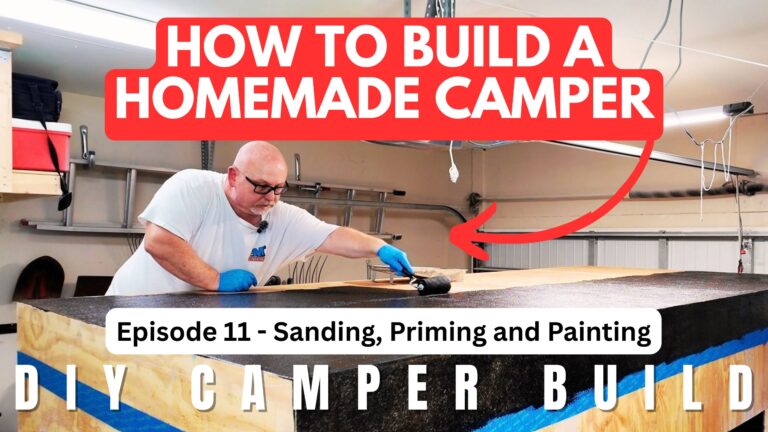
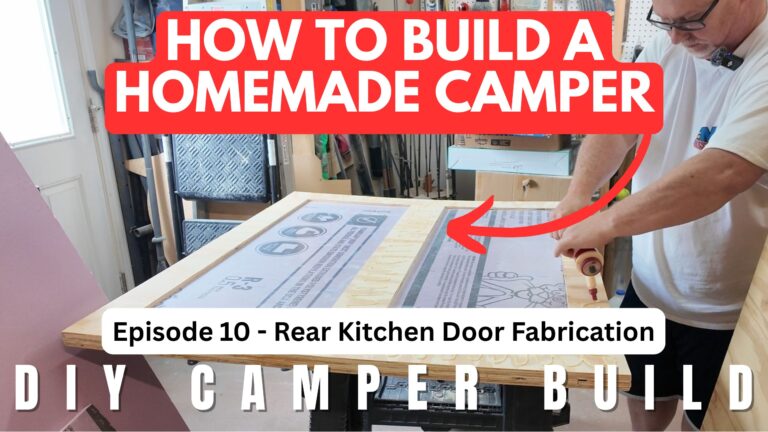
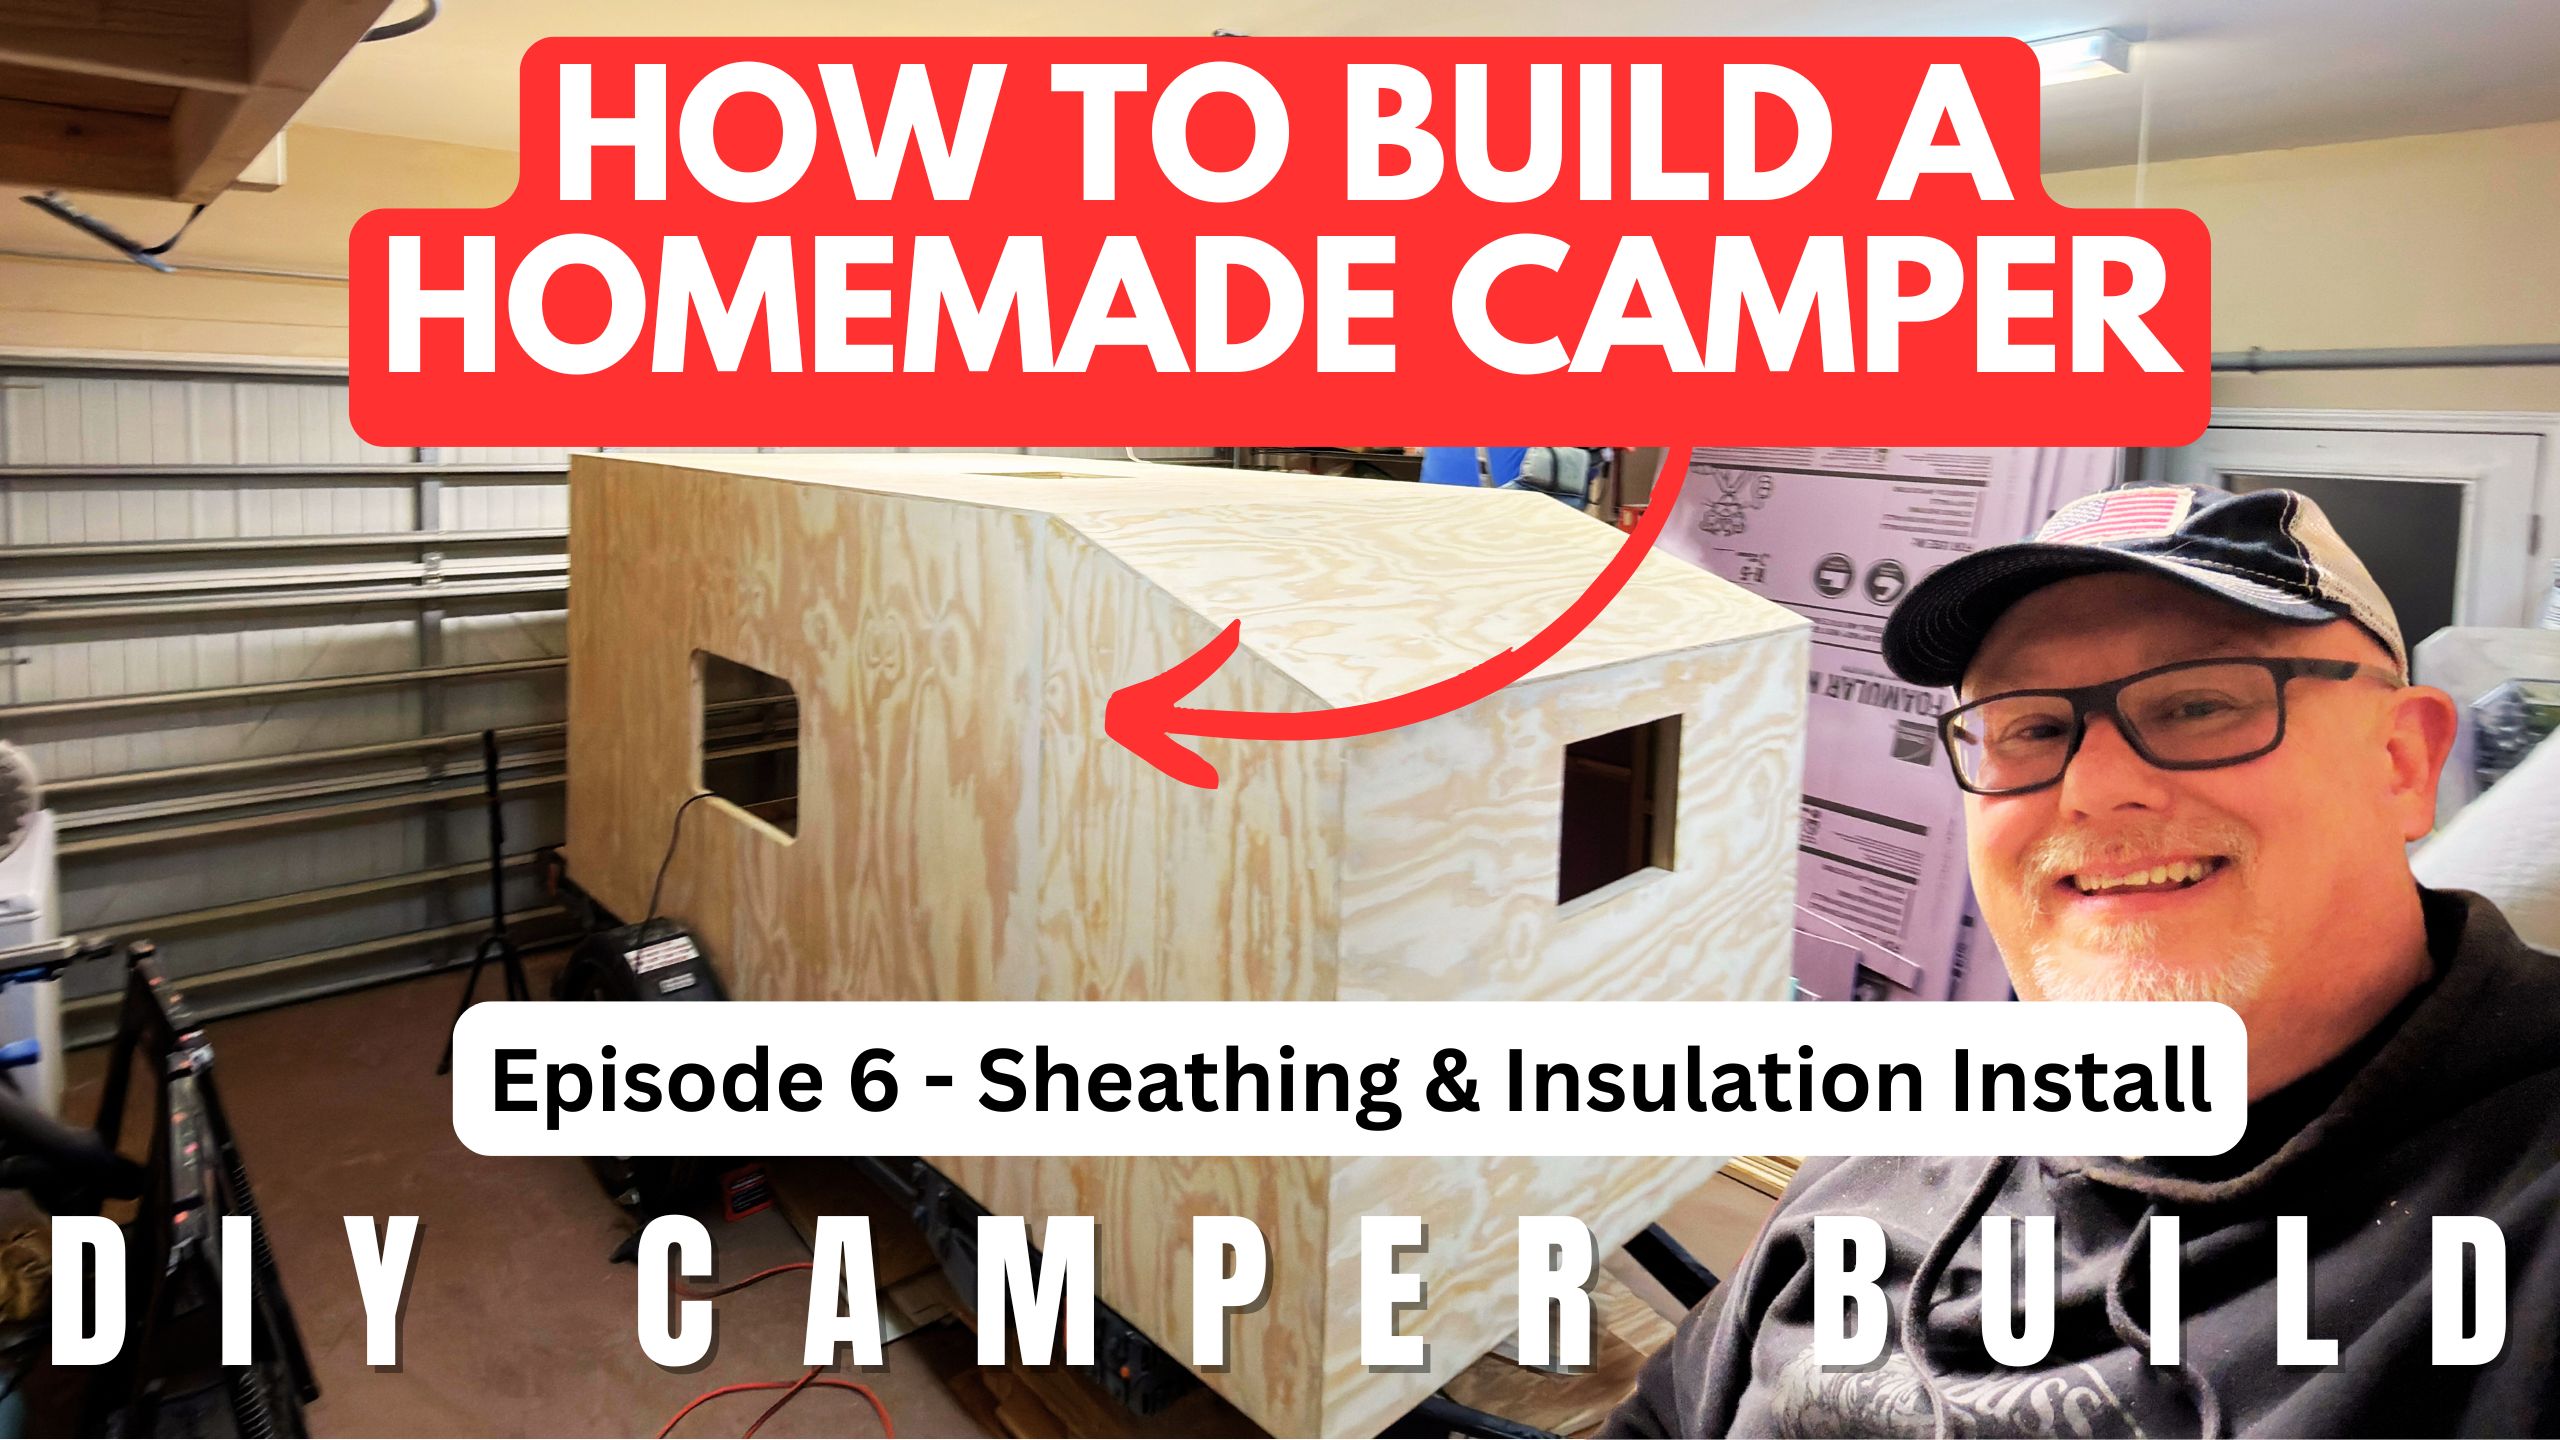
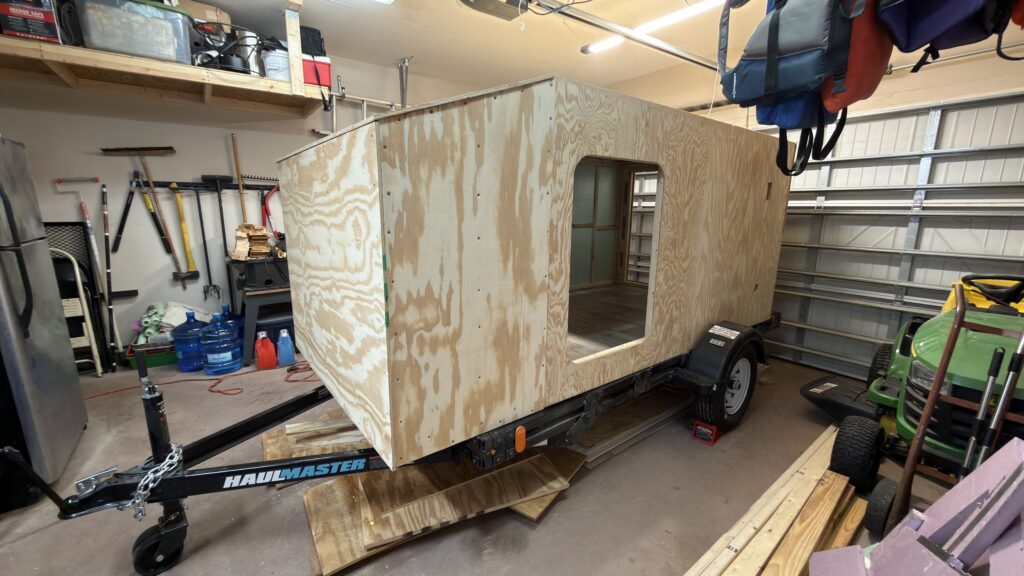
Our DIY square-drop camper is progressing one step at a time! After building the trailer foundation, constructing the floor, framing the walls and roof, and beginning the exterior sheathing, we’re moving on to another important stage: continuing the exterior sheathing work and installing insulation. Our camper sheathing and insulation work is helping prepare the structure for the next stages of our homemade camper build.
We’re documenting our homemade camper build on a Harbor Freight 5×10 Modular Trailer to share the process and help others who are researching their own DIY camper projects.
Watch Our Camper Sheathing and Insulation Installation
In this part of our camper build series, follow along as we work on the exterior sheathing and install insulation in our homemade camper. Watch the video to see this stage of the project and how the camper is coming together.
Video: https://youtu.be/RrEH8GM_MWk
If you’re planning your own build, use our project as a reference while checking your dimensions, material specifications, weight limits, and construction requirements.
Continuing the Exterior Sheathing
Exterior sheathing helps form the camper’s outer structure and prepares it for the next stages of finishing and weather protection. Careful planning around panel edges, seams, corners, and openings can help you prepare the exterior for later work.
When planning exterior sheathing for a homemade camper, consider:
- Measuring the framed surfaces carefully before cutting panels.
- Planning panel placement and seams around the camper’s framing.
- Using suitable fasteners and attachment methods for your materials.
- Protecting exposed edges and penetrations against moisture.
- Accounting for the weight of the sheathing and other construction materials.
Follow the material manufacturer’s instructions and use construction methods appropriate for your particular camper design.
Installing Insulation in Our Homemade Camper
Insulation is another important part of planning the camper’s interior. The right material and installation approach depend on the wall and roof construction, available space, climate, and how you plan to use the camper.
When planning insulation for a DIY camper, consider:
- Choosing insulation suitable for the available framing space.
- Fitting the material carefully without leaving unintended gaps.
- Following the manufacturer’s guidance for installation and compatibility with surrounding materials.
- Managing moisture and condensation through appropriate design and ventilation.
- Keeping the overall camper weight in mind as construction progresses.
Our video documents this stage of our own project. The exact methods and materials you choose should suit your camper’s design and intended use.
Our Homemade Camper Build Continues
With the trailer, floor, wall framing, roof framing, exterior sheathing, and insulation work progressing, we’re getting closer to the next stages of finishing our homemade camper.
We’re sharing the build from start to finish so you can follow the progress, see the construction stages, and join us as we prepare the camper for future camping adventures.
Continue Following Our DIY Camper Build
Start with our Harbor Freight 5×10 trailer build, then follow the camper floor build, wall framing, wall and roof framing, and exterior sheathing installation.
Visit our Camper Build page for an overview of the project and more videos.
Follow HomemadeCamper.com as we continue building our DIY square-drop camper and preparing it for future camping adventures.